Labs & Studies
All users can see the information about your studies and the available time slots. Administrators, the principal investigator (if applicable) and the researchers for the study are the only people who can see who has signed up, and modify the study.
You can update your campus/access card in front of the Techsupport Desk (Experiment Desk) or at the reception of the Langeveld building.
To do so, go to the appropriate time slot. You may want to create a time slot specifically for this purpose, and click on Modify Time slot. In the Manual Sign-Up section, if enabled, you will see a Batch Credit Grant link. Click that link and you can provide the list of User IDs of users you would like to sign up and credit. Users will be signed up and credited immediately. This feature overrides any sign-up restrictions on the study, just as a manual sign-up does.
It’s important to give an end date to your time slots so your link will still be visible.
Please contact the researcher of the study and ask them about the status of accreditation of your PPU.
Set it up as a study for credit, and note in the study description that participants may opt to receive payment instead. They should notify the researcher of this when they come to their appointment. If the participant at that time chooses to receive monetary compensation, the researcher should grant credit, but mark the credit as 0 credits (Variable Credit Granting must be enabled in System Settings by the administrator), and then note in the comments for the timeslot that payment was received.
You may type any value into the payment field when setting up the study, so you could type in a range of compensation values.
Please go to the following link that explains how to use external study credit granting with Qualtrics.
So it does not clutter the list of studies for participants, you should make the study inactive or delete it.
Sona provides a video tutorial how participants can use Sona.
You can perform a manual sign-up by finding the time slot, pressing modify, and filling in the Manual sign-up section at the bottom of the page.
Email notifications (e.g. sign-up notices) are sent to either an address derived from your user ID or your alternate email address. See the Email Address Options section of this documentation for more information.
Hardware
Please go to our office so we can explain to you how to login our lab computers.
Please use the this link for more information about printing.
Please go the official UU manuals.
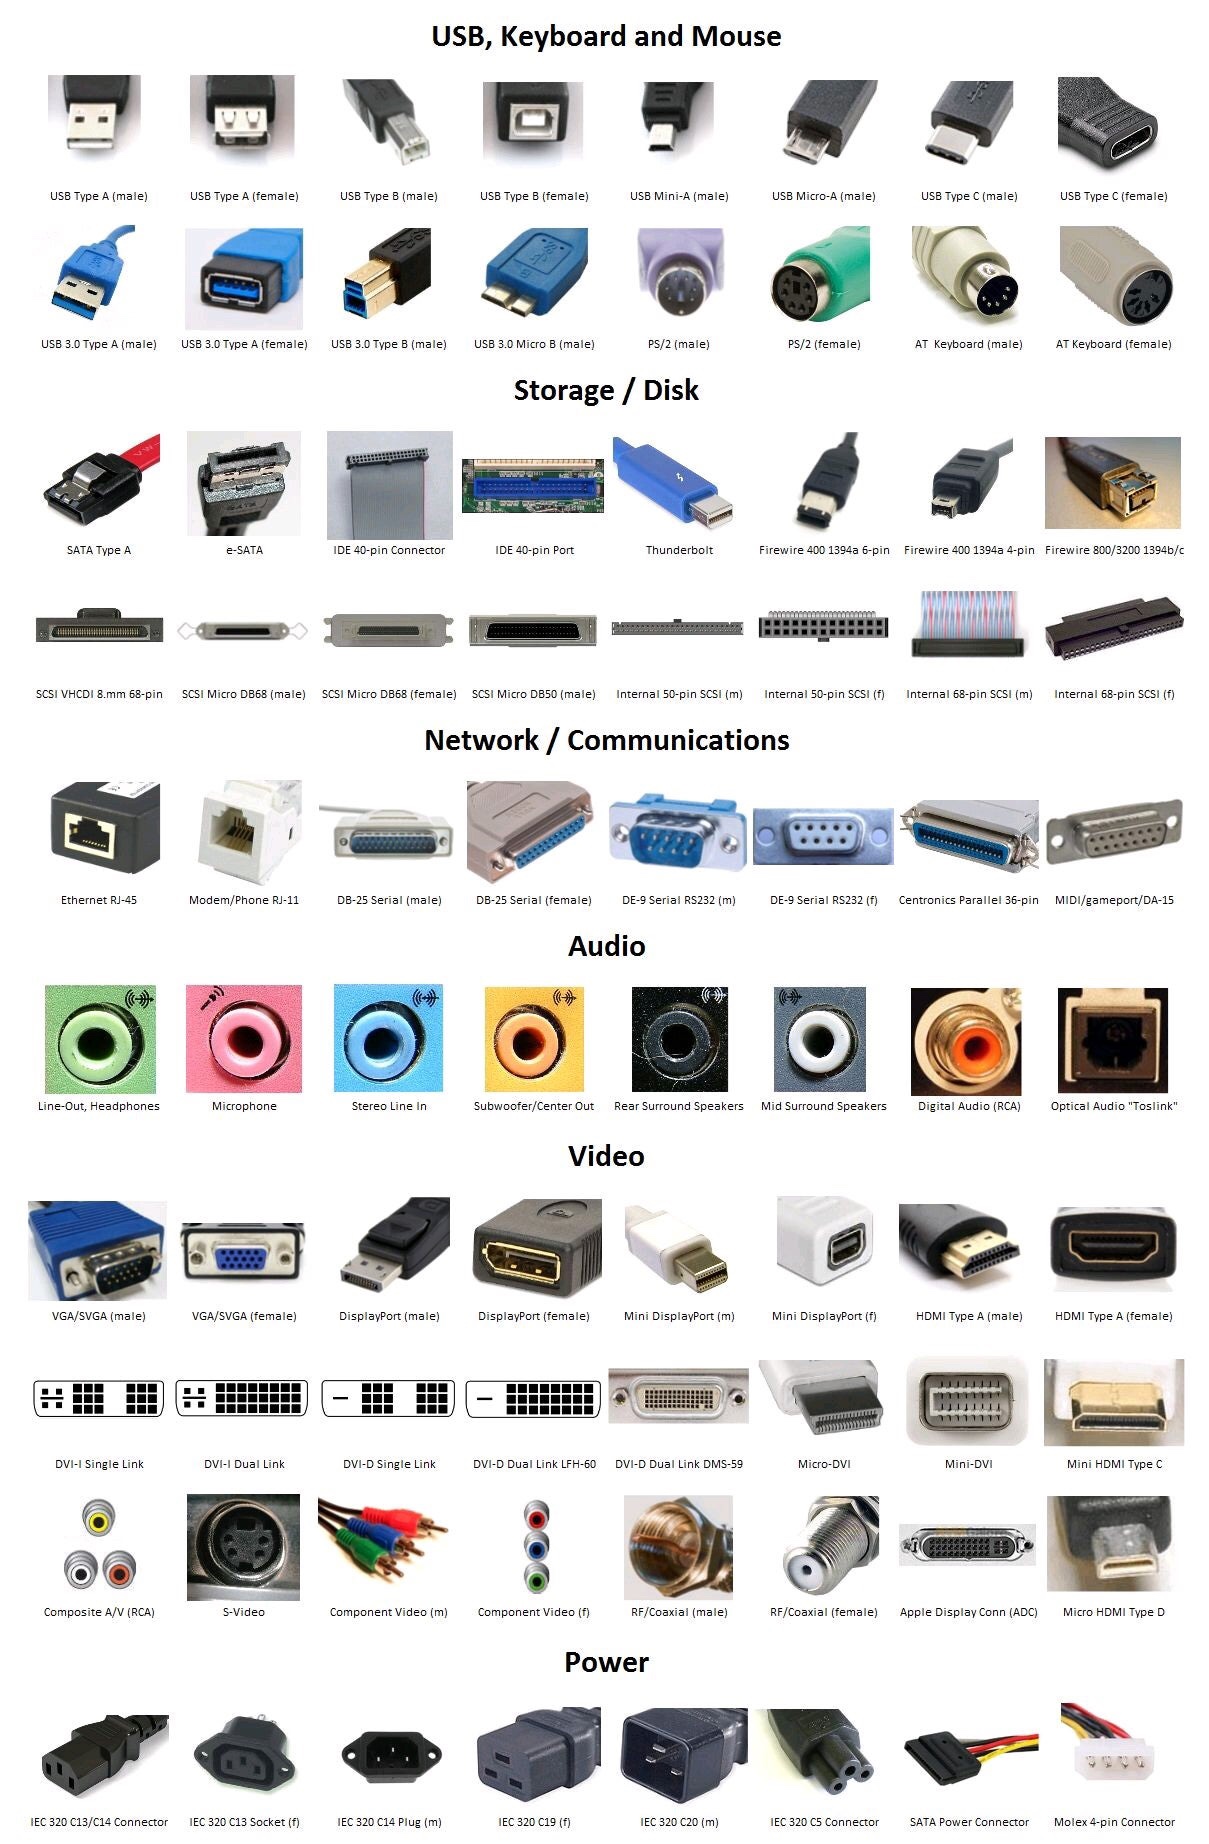
Especially E-Prime makes use of ports, i.e. parallel port. When you know which port your system uses, you could use this port number to implement in your E-Prime experiment.
- Click Start -> Control Panel -> System.
- Click the Hardware tab on the System Properties page.
- Click Device Manager.
- Click on the “+” next to “Ports (COM & LPT)” to view the listing of ports used by your machine.
- Select the parallel (LPT) port, right click and select Properties, then select the Resources tab. The address of the currently accessible port will be shown (in hexadecimal) under I/O range.
The connection between your electrodes and the skin of the participant are a bit faulty. Try to use the proper way of applying the connection. Try not to use a lot of gel, just enough. The blue light should be steady for proper results.
Another issue could be that one of your electrodes is faulty. Try to unplug the electrodes one by one at the BioSemi AD Box and check the blue light. When the blue light flickers you will know when you will have a faulty electrode. Replace that electrode with another and try again.
Software
Please make a call in TOPdesk and go to Workplace & Work area -> PC or Laptop -> PC/Laptop: New call. Use your UU number of your device (back of your device) to create a new call. In description, please ask that you need to have installation rights on your UU issued device.
This can be handy if you need to install software outside the Software Center or need to change some settings in Windows.
First, verify that the workspace is configured correctly: check whether the folder paths are correct and whether the “Raw” folder contains BDF files. For guidance, please check their manual.
If the configuration is correct and the issue persists, this is a known bug. You can resolve it by deleting two configuration files:
Close BrainVision Analyzer (BVA) and delete the following files (replace “XYZ” with your own username, or LabUser):
• User.config — located in C:UsersXYZAppDataRoamingBrainVisionAnalyzer
• AnalyzerUI.config — located in C:UsersXYZAppDataLocalBrainVisionAnalyzer
CSV files can be generated by survey tools like Qualtrics that can be imported in for instance SPSS or Excel. For a more detailed explanation, please use the following link.
If you’ve just recently changed your password, sometimes you will experience connection issues with the FSS Storage or other IT related services. This is caused because your old password is still reused to connect to our IT services. You can edit your password within Windows or macOS.
Windows
Try to look for the Credential Manager (Aanmeldingsgegevensbeheer or Referentiebeheer in Dutch) where all your passwords are stored. Re-add your credentials if needed and restart your device and try to reconnect again.
macOS
Try to find Keychain (Sleutelhangertoegang in Dutch) and edit your entries. After you’ve changed your credentials, restart your device and try to reconnect again.
To send triggers from E-prime you need to add an Inline object where you want the triggers to be sent. These Inline objects allow you to write custom scripts in E-prime which will execute once the trial sequence reaches the Inline. Inlines can be dragged and dropped where you need them just like all the other screens, lists, etc.
After adding the Inline, you can open it by double clicking on the object and start adding your code. To write the trigger code to the parallel port you use the writePort command, which has the following structure: WritePort [port code], [write this code]. The port code depends on the system* and is expressed in hexadecimals using &H followed by the hexidecimal number for the port (DFF8 in the example below). The trigger code that you write depends on the information that you want to send and can range between 0-255. The code will look something like this.
WritePort &HDFF8, 0 ‘set to zero
sleep(1) ‘wait 1ms
WritePort &HDFF8, 1‘ send code 1
sleep(1) ‘wait 1ms
WritePort &HDFF8, 0’ set back to zero
In some cases the code being sent will have to be different depending on the research condition or participants’ answer. To do this you can load the information from the list object under which the Inline is placed. The code will look like this:
WritePort &HCFF8, 0 ‘set to zero
sleep(1) ‘wait 1ms
WritePort &HCFF8, c.GetAttrib(“X”) ‘send code that’s taken from the list Object above the Inline. You have to replace X with the correct column name.
sleep(1) ‘wait 1ms
WritePort &HCFF8, 0 ’set back to zero
Always try to preload the videos in E-Prime. Preloading videos can be done like the ImageDisplay example at the bottom of this page.
Add your serial device on an experimental level in Experiment > Properties > Devices. In your stimulus object configure a Task Event where every stimuli is linked to a trigger (in hexadecimal). In Settings > Action: Write bytes, Source custom, data type: Hexadecimal (i.e. &H01 of &H02). Or refer to a stimuli list with a column of hexadecimal code (column name) in custom. Please go to the following link to read more about how to implement triggers in your E-Prime experiment.
We’ve created a trigger package for Matlab. Please let us know if you need this.
Transferring project ownership can be done using the Support Contact Form here: https://app.gorilla.sc/support/contactform
From the dropdown, select ‘Project Ownership Change Request’. Both the requester of the transfer, and the other party, will need to provide a reason for the transfer. The person you are transferring ownership with will get an email and a notification to continue the transfer. Notifications for this can be found under My Account -> Notification.
Data Management
More information
Please use our Tech Support Desk contact form.


